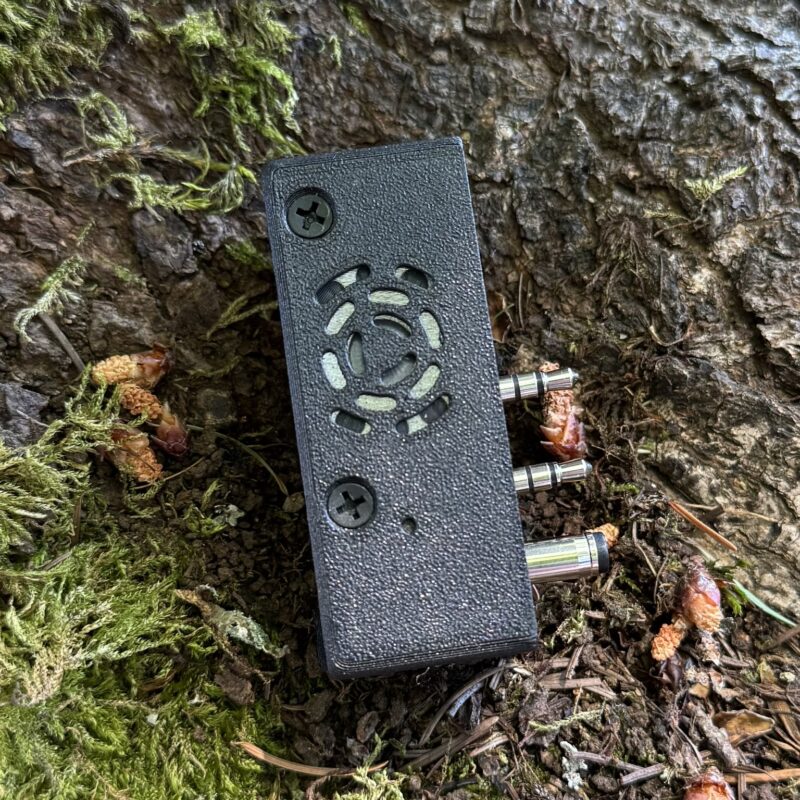
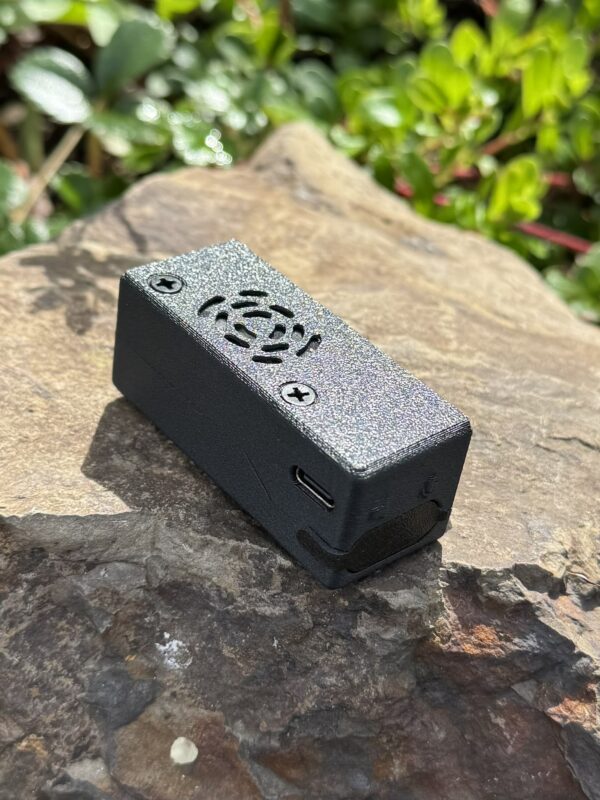
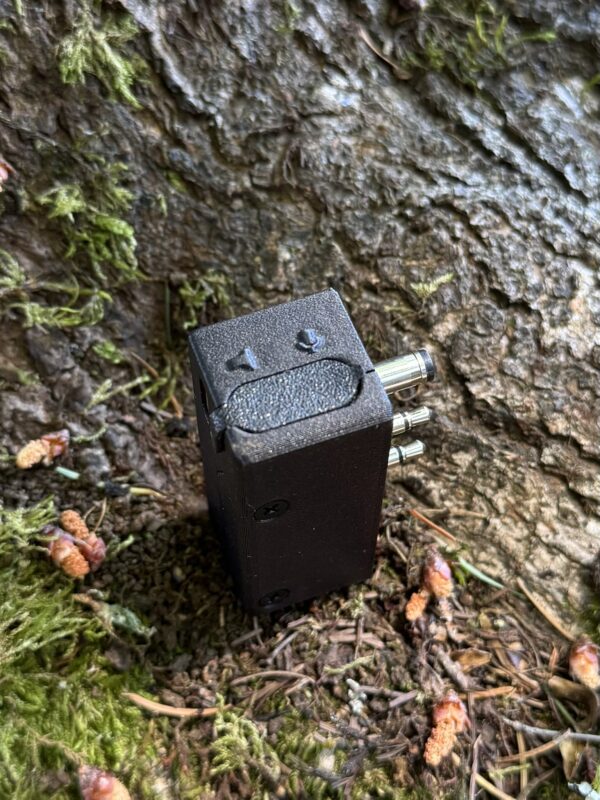
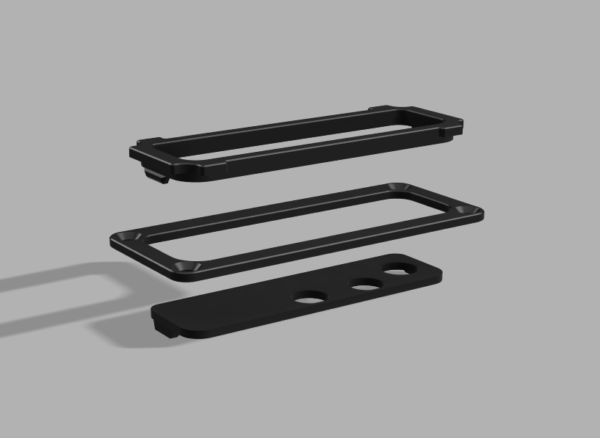
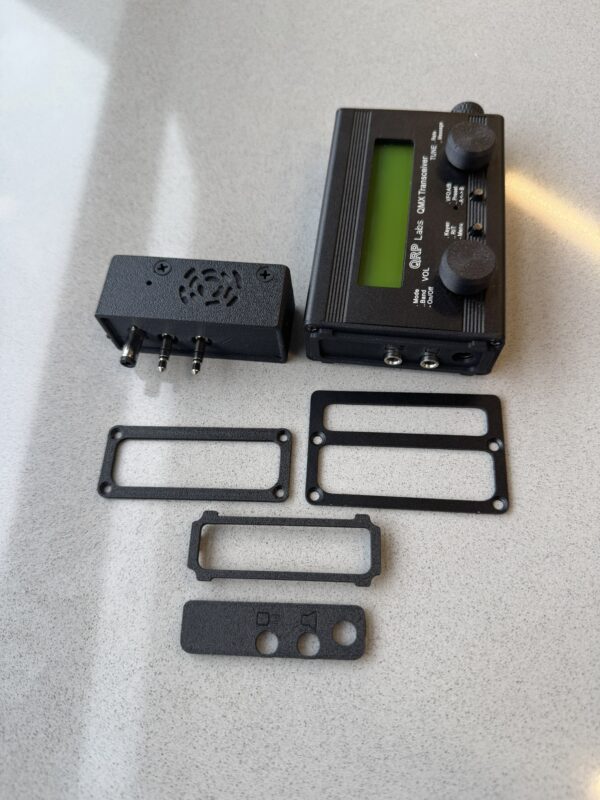
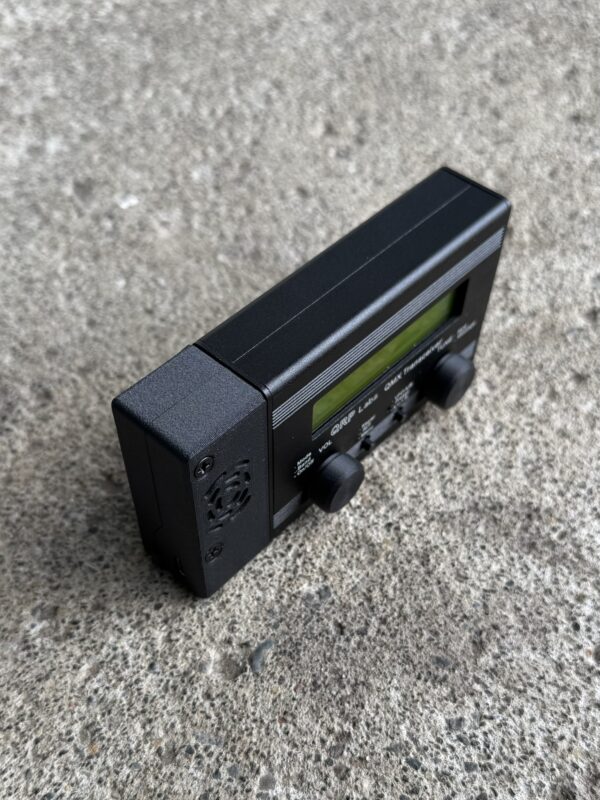
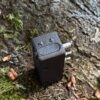
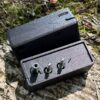
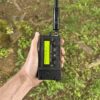
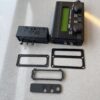
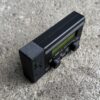
Capacitive touch version with K6ARK touch board! Does not have onboard microphone.
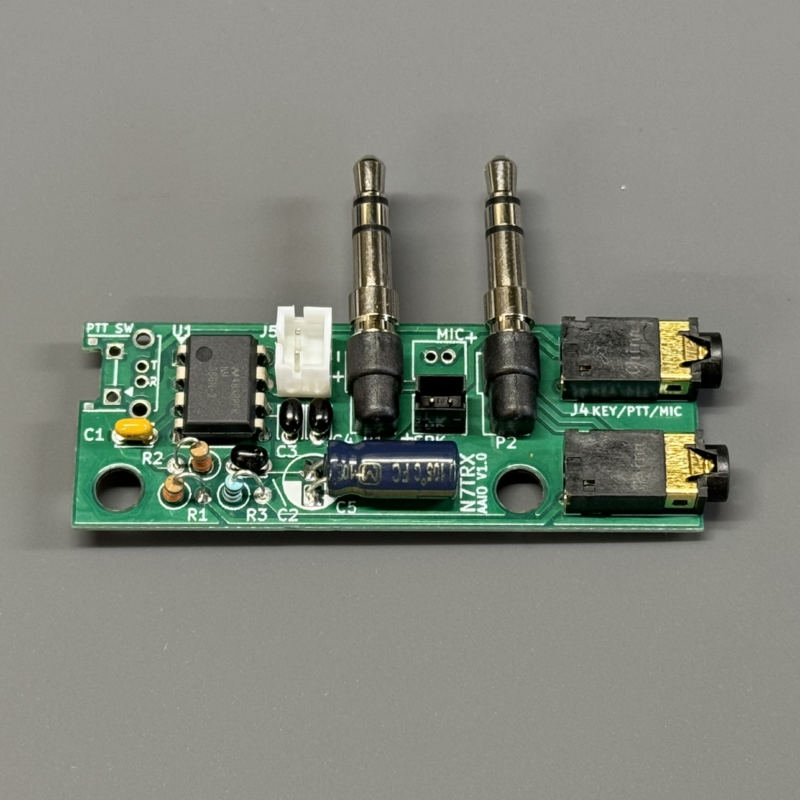
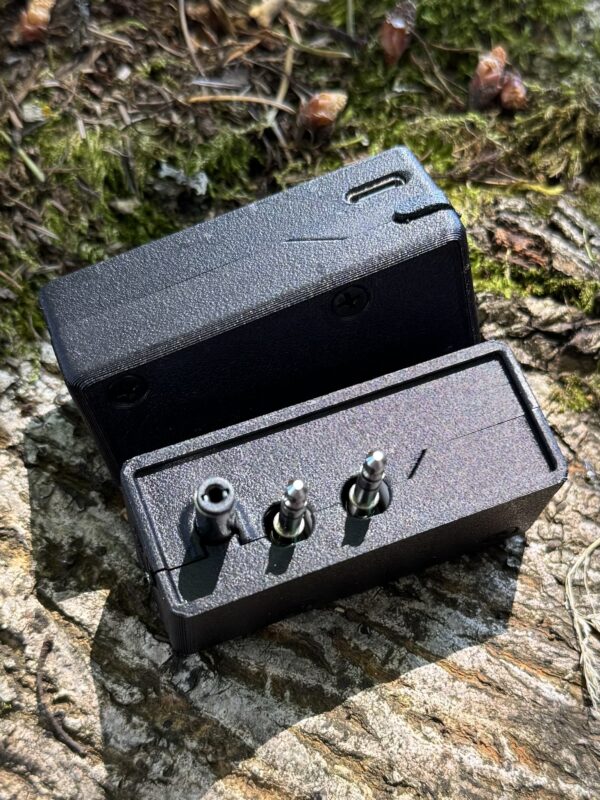
The Almost-All-In-One is a compact, versatile PCB that plugs directly into the headphone and paddle jacks of the QRP labs QMX and QCX transceivers. The board relocates the 3.5mm jacks to the side while tapping into these circuits to add amplified audio output and various inputs. This lightweight modular board serves as a platform for many possible configurations.
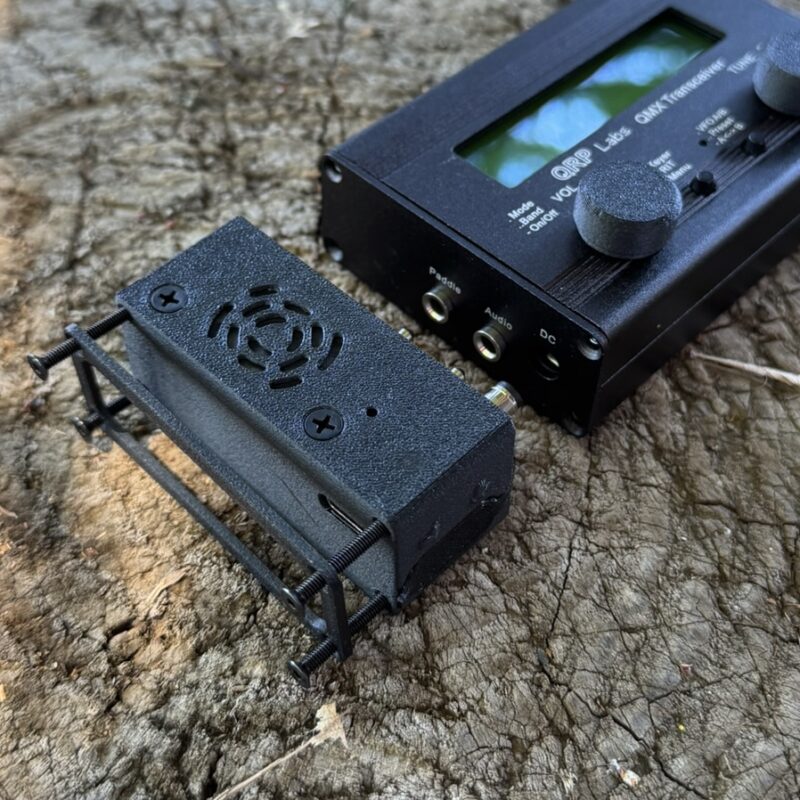
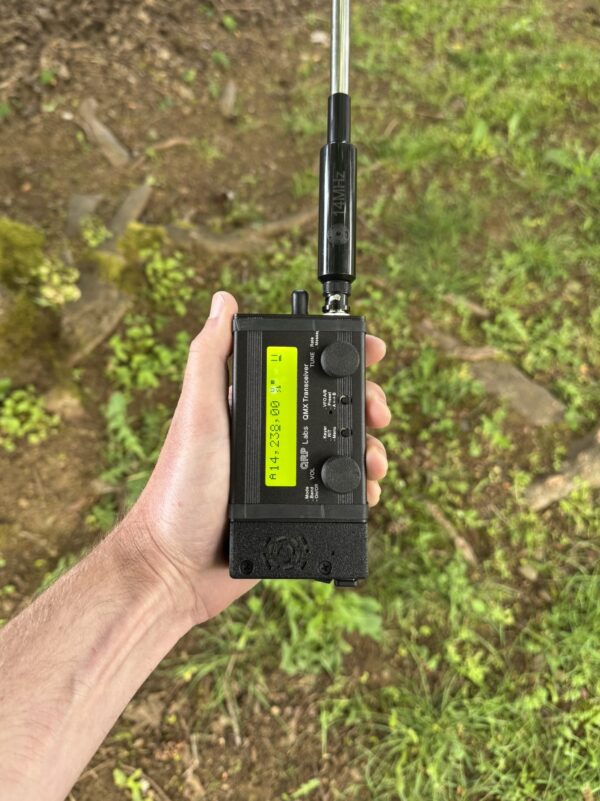
The plug in Capacitive Touch enclosure results in a compact quick to exchange module that features an amplified speaker, and capacitive touch. This enclosure leans toward compact quick deploy CW operation while still allowing a hand mic or CW paddle to be plugged into the input jack. This toolless design is easy to remove and install as it simply plugs into the QMX and interfaces with the included endplate for a secure lockup while being easy to swap out for other modules or to remove for travel.
Batteries not included: Its an “almost” all-in-one. The QMX with AAIO gives you the freedom to mount any compact power source to the back. Heavy-duty rubber bands, cut strips of bicycle inner tube, 3d printed solutions, or adhesive-backed Velcro are all great options. I am working on a battery and mounting system. I currently do not have an availability date.
Ordering Options:
Power Input Type
- DC Barrel Jack: Includes a 5.5×2.1mm DC barrel jack. Determines matching enclosure.
- USB-C 12v: Includes a 12v USB-C Trigger. Determines matching enclosure.
- USB-C 9v: Includes a 9v USB-C Trigger. Determines matching enclosure.
Mini Mic Bundle
- No: Adds nothing
- Yes: Adds a discounted -24dB AOM miniature hand mic. For more details on the mic click here.
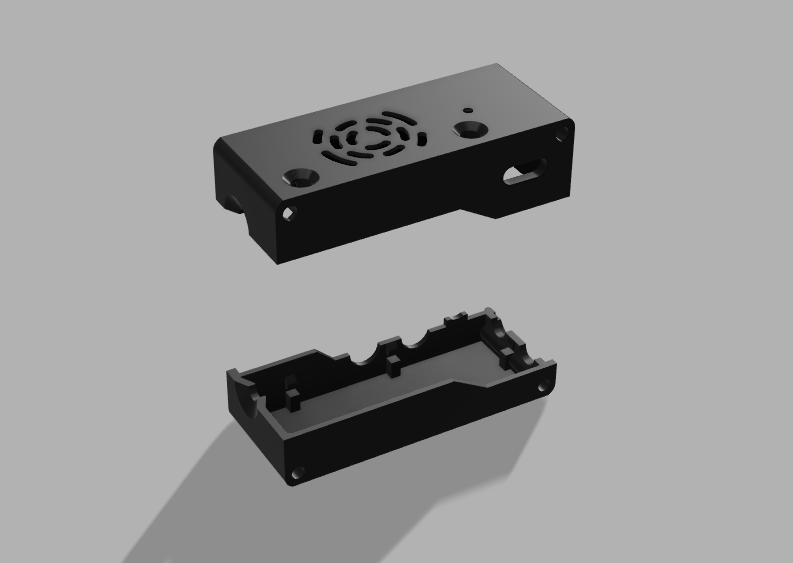
Visit the Shop to see more enclosure kits or check out my Printables for free 3D-printable enclosure files, try searching “AAIO” for other community designed solutions.
This DIY kit features all through-hole components, making assembly straightforward for most experience levels. Every QMX/QCX radio is hand-built, meaning individual units vary slightly in the alignment of their 3.5mm and power jacks. Consequently, an assembled AAIO may not fit multiple radios. Using a single AAIO on a different radio can cause significant stress and premature failure of the input jacks.
If you own multiple QMX/QCX radios, you have three standard options:
- Build one AAIO for one radio, then de-solder and realign the 3.5mm jacks on your other radios to match the previously assembled AAIO.
- House the radio and AAIO together and don’t use the 3.5mm plugs.
- Build a dedicated AAIO for each radio.
The Fine Print
Use at Your Own Risk: The AAIO is an independent project and is provided as-is. This kit is intended for educational, evaluation, or hobbyist assembly. By purchasing and installing this board, you accept all risks. The creator/seller accepts no liability from the use or misuse of this product.
Trademark Notice: QMX and QCX are registered trademarks of QRP Labs. This project is entirely independent and is not affiliated with, authorized, or endorsed by QRP Labs.